

Upload new medium
| Table of contents |
Calling the New - Upload new medium function opens a dialog for adding a new medium to the project. All of the settings necessary for uploading a new medium can be made here.
Further media-related functions are also offered by the Media Management.
Selecting a file
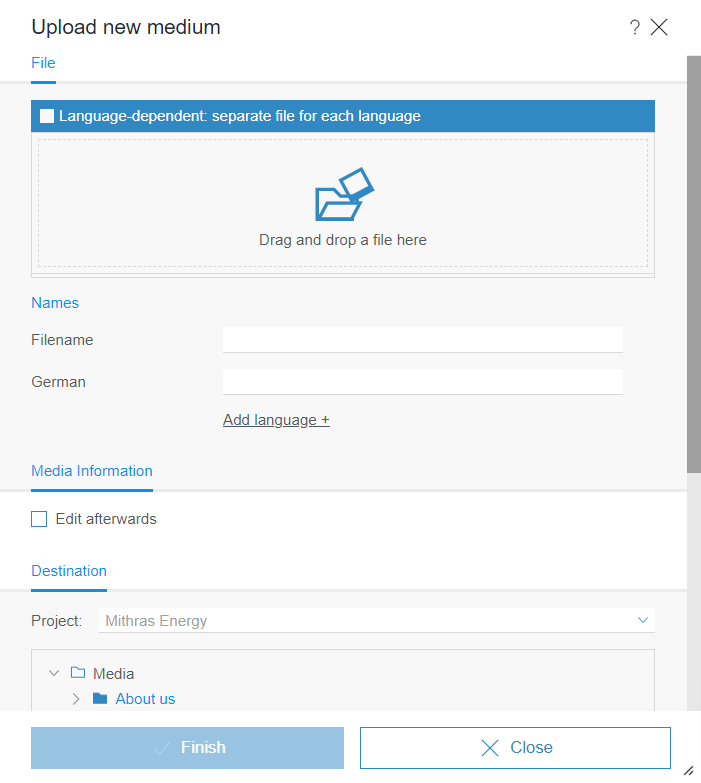
In the File area, the desired medium for uploading from the computer's file system can be selected.
The desired file can be selected in two ways:
- Clicking on the preview area opens a window with the workstation computer's file structure. A specific file can be selected for upload to the project in this window.
- If supported by the browser being used, the specified file can also be selected with drag-and-drop from the file system to the preview area.
Images can also be uploaded from other browser windows/tabs per drag-and-drop (if the delivering server allows cross-origin requests).
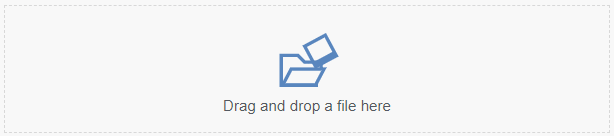
Description
Once you have selected a medium, a text field appears in which you can enter an explanatory text if required.
Depending on your project configuration, it can be output as an alternative text on the web page, for example (alt tag).
Multilingual media
If the checkbox “Language-dependent: separate file for each language” is checked, a file can be selected from the workstation for each project language for which the medium is to be used. The desired language can then be selected on the right side:
It is then a so-called “language-dependent” medium.
- Language-dependent media: A separate file is used for each project language.
- Language-independent media: The same file is used for all project languages.
Depending on the setting in the Visible languages menu, less relevant languages can be accessed via the “More languages” submenu.
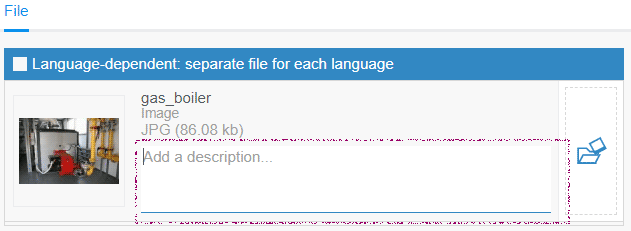
Specifying names
After a file has been selected for uploading from the file system, the file name is automatically preset as both the
- file name
- (display) name for the master language (see page Use of multiple languages)
These names can be accepted or changed directly.
A separate display name can be specified for each project language. The name for the master language is always used as the preset. Names for other project languages can be specified using the “Add language” button.
It must be noted that, at the very least, a name always has to be specified for the master language. See also page Use of multiple languages.
File names can only be assigned in one language, i.e. one file name applies to all languages of a medium. If you switch to another language in this dialog, the file name that was last entered in the field will be always used.
Multiple files
If supported by the browser being used, multiple files can even be uploaded via this dialog with drag-and-drop.
In this case, only the files that are selected together and are dropped in the corresponding area are ever taken into account; individual files cannot subsequently be added to the existing selection.
If multiple files are uploaded at the same time in this way, the media names that have to be created cannot be specified manually. Instead, they are formed and assigned by the system automatically.
Metadata
If the option Edit afterwards is enabled, after clicking on the Finish button, another window opens in which metadata for the medium can be edited.
Metadata is additional information about an element (page, section, media file, etc.) that can be saved, but which is not necessary for the person viewing the page. This way, for instance, the last changed date for a page or the last editor of a page can be saved.
Defining the storage location
The storage location represents the media management of the project in a clearly arranged folder structure.
Selecting an appropriate folder makes it easier to find the medium for subsequent use.

![]() Click the “right arrow” icon to display a lower level in the folder structure.
Click the “right arrow” icon to display a lower level in the folder structure.
![]() Click the “down arrow” icon to hide a lower level in the folder structure.
Click the “down arrow” icon to hide a lower level in the folder structure.
A specific folder can be selected as the storage location for the new medium by simply clicking on a folder from this folder structure.
Click the New folder button to create a new folder in which the medium to be uploaded is deposited.
You must first select an existing folder underneath which the new folder is to be created. However, it can be moved to a different location in the current dialog during the upload process.
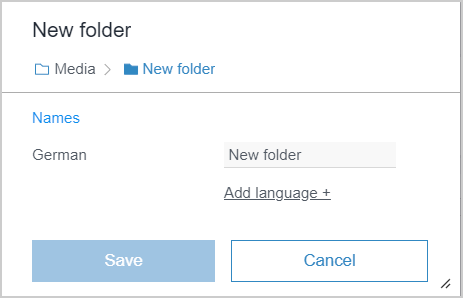
Initially, the name of the new folder is “New folder”. This text can be overwritten with the desired name.
Add language: Display names for other languages can be specified using this link.
Finishing the upload
Once all settings have been made, uploading the medium can be started by clicking Finish.
Notes:
According to the specific project configuration uploading media can be restricted to a specific file size or file formats. If the medium you are uploading does not comply with this configuration you will get an error message (for example “Upload failed. Picture name: The filename extension 'jpg' is not included in the list of allowed extensions (txt,pdf,gif,png,doc).”) and the medium will not be uploaded.
Images are automatically analyzed for relevant subjects and cropped, if this is configured appropriately for the project. See page Edit image section.