

Catalog (FS_CATALOG)
Various types of catalog may be available depending on the use case. Multiple sections or links can be maintained directly within the catalog form without having to switch to a different input form or another section.
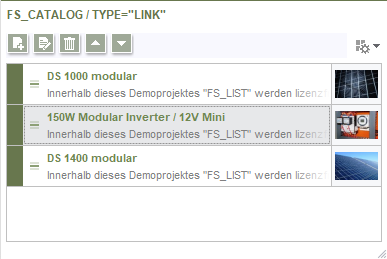
Catalog as section/link list
Catalog as section list
This input form allows you to select several sections or links and display them as a list. Above the list, there are some icons for managing the catalog entries.
![]() New: Click this icon to create a new catalog entry and add it to the list. A selection dialog box opens so that you can select the required section or link template for the new catalog entry.
New: Click this icon to create a new catalog entry and add it to the list. A selection dialog box opens so that you can select the required section or link template for the new catalog entry.
![]() Edit: Click this icon to open the selected catalog entry in the catalog entry editing view.
Edit: Click this icon to open the selected catalog entry in the catalog entry editing view.
![]() Delete: Click this icon to delete a highlighted catalog entry from the list – once a confirmation prompt has been confirmed.
Delete: Click this icon to delete a highlighted catalog entry from the list – once a confirmation prompt has been confirmed.
You can use the context menu (or the respective keyboard shortcut) to copy/cut a catalog entry and paste it at the desired position or it can be duplicated.
![]() Move: Click these icons to move the selected catalog entry up/down in the list by one position.
Move: Click these icons to move the selected catalog entry up/down in the list by one position.
You can change the order of the catalog entries by clicking and dragging it/them to the required position (drag-and-drop), too.
![]() Click this icon to toggle between the following three display options: Details, List, and Symbols. Use the arrow next to the icon to select the required view from a list.
Click this icon to toggle between the following three display options: Details, List, and Symbols. Use the arrow next to the icon to select the required view from a list.
![]() The height of the input component is continuously adjustable thanks to the adjustment handle in the bottom right-hand corner. However, the height of the input component cannot be reduced below the minimum height stipulated.
The height of the input component is continuously adjustable thanks to the adjustment handle in the bottom right-hand corner. However, the height of the input component cannot be reduced below the minimum height stipulated.
Editing catalog entries
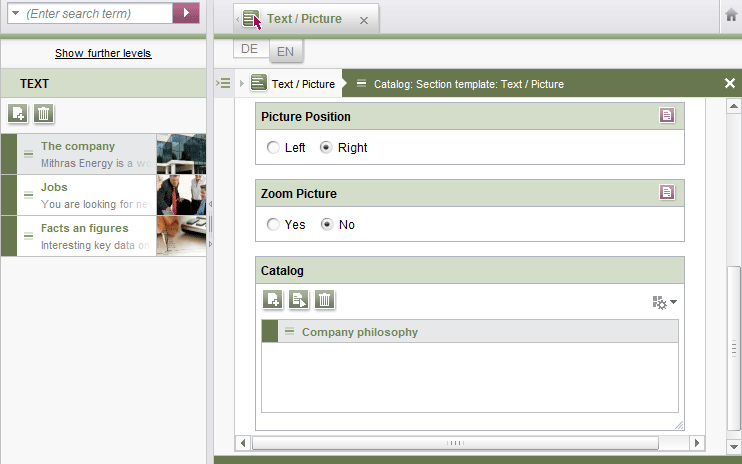
Catalog entry editing view
This view always opens when a new catalog entry is added or an existing one is edited.
Overview of entries
Instead of the tree structure, the left-hand side of the screen now shows an overview of catalog entries for the selected catalog level.
 All the levels above the current one are displayed. Clicking a level takes you directly to it.
- The title shows the name of the input form.
 New: Click this icon to add a new catalog entry at the current level. A selection dialog box opens so that you can select the required section or link template for the new catalog entry.
 Delete: Click this icon to delete a highlighted section or link from the list.
- The selected entry is shown in gray in the list of displayed catalog entries. Use the up/down cursor keys to navigate to the previous or next catalog entry in the list; to display the required catalog entry in the workspace, press Enter or Space.
Workspace![]() This icon hides the overview of entries and displays the tree structure instead. To reopen the brief overview, click the
This icon hides the overview of entries and displays the tree structure instead. To reopen the brief overview, click the ![]() icon again.
icon again.
There is a breadcrumb trail above the editing area.
The breadcrumb trail shows the name of the section and the nesting depth of the catalog entry. It also shows the name of the input form and the title of the catalog entry. Click on X to close the current catalog and go to the entry above it.
Below that, you can see the various input components that the template developer has made available for the selected section/link template.
To close the editing view again, double-click the name of the section in the breadcrumb trail. Navigating in the tree structure or editing other elements does not close an open catalog entry. When the corresponding section is selected again in the tree structure, the open catalog view is displayed again.
 |
It is not possible to switch between project languages in the editing view. If you want to edit the content in another project language, you must close the editing view first. |