

Media Import Wizard
The Media Import Wizard helps to import large quantities of media, for example, if they have been prepared using an external program. If these media exist in different languages and resolutions, the wizard ensures that FirstSpirit imports media objects which contain these resolutions.
Media Import Wizard – Step 1 of 9
Media Import Wizard - Step 1
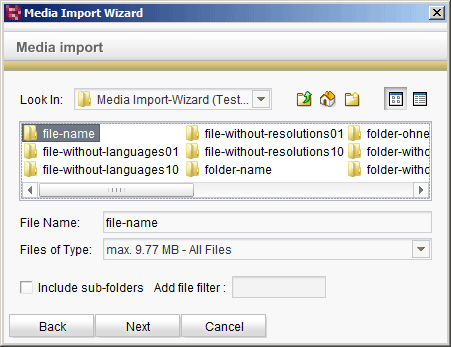
In the first step you must define the folder in the computer's file system in which the media to be imported are located. The media do not have to be directly in this folder, they can also be located in subfolders.
File Name: The name of the folder in which the media for the import are located. This may NOT BE OEPENED WITH A DOUBLE-CLICK but must be selected from the next-higher level with a single click!
Files of Type: Here you can choose between All Files and Images (.jpg, .gif, .png).
 |
Selection of media can be restricted to files of a specific size and format according to the settings in the project configuration (see the FirstSpirit Manual for Administrators). In this case media which are bigger than the maximum size which is defined in the project configuration and/or which have a file name extension which is not allowed are not imported by the Media Import Wizard. |
Include sub-folders: If this option is activated, all media in the lower-level folders are imported too.
Press the Next button to proceed to the next step:
Media Import Wizard – Step 2 of 9
Media Import Wizard - Step 2
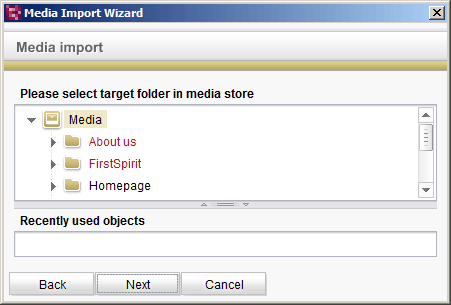
In the second step you must select the folder in the Media Store in which the imported media are to be integrated.
If Permission check is activated, folders for which the user does not at least have permissions to create objects and folders are denoted by green lettering. These folders can then not be selected.
Media Import Wizard – Step 3 of 9
Media Import Wizard - Step 3
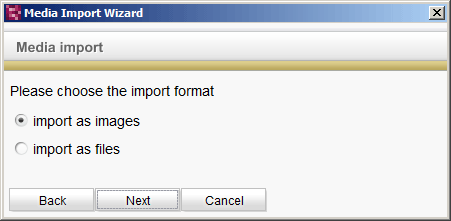
In the third step the user selects whether the imported media are to be created in the Media Store as images or as files.
Media Import Wizard – Step 4 of 9
Media Import Wizard - Step 4
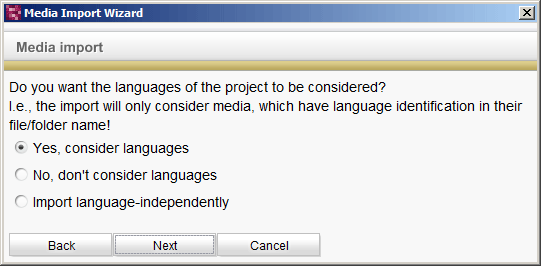
In the fourth step the user chooses the extent to which the project's languages are to be taken into account in the import.
Yes, consider languages: If the project has several languages, the media can also be directly assigned to the individual project languages during the import. This requires that the media names or folders in which the media are located have a label or flag to identify the corresponding language.
No, don't consider languages: This item should be selected if there are several languages in the project but the existing media are for one language only. A language-dependent medium is then created but a medium is imported for one project language only (usually the master language).
Import language-independently: This option must be selected if language-independent media are to be generated in the Media Store.
Media Import Wizard – Step 5 of 9
Media Import Wizard - Step 5
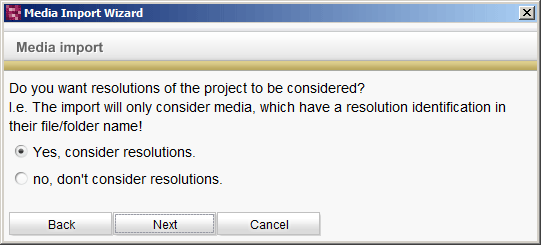
In the fifth step the user chooses whether the various resolutions of the project are to be taken into account in the import.
Yes, consider resolutions.: If the project has several resolutions, the media can also be directly assigned to the individual project resolutions during the import. This requires that the media names or folders in which the media are located have a label/flag to identify the corresponding resolution.
no, don't consider resolutions.: This option is to be selected if media for one resolution only are to be imported (original resolution only).
Media Import Wizard – Step 6 of 9
Media Import Wizard - Step 6
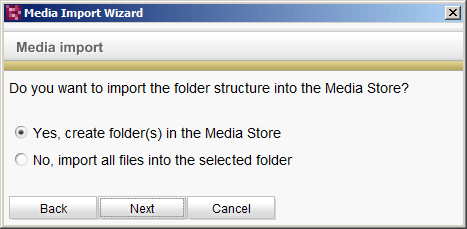
In the sixth step the user chooses whether the folder structures in the computer's file system are to be imported into the Media Store.
This step is omitted if the Include sub-folders option was not activated in the first step.
Media Import Wizard – Step 7 of 9
Media Import Wizard - Step 7
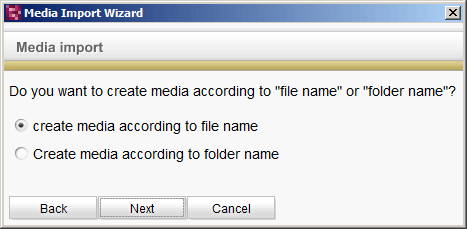
In the seventh step the user makes a choice regarding naming of the media. This selection depends on the structure of the data in the file system.
create media according to file name: This option must be selected if the files to be imported have been named using a uniform convention, i.e., the different languages and resolutions are integrated in the file names.
Create media according to folder name: This option must be selected if the different languages and resolutions are characterized by the structure of the folders in which they are created.
Media Import Wizard – Step 8 of 9
The eighth step is highly dependent on the decisions made in the first seven steps. More precise details must then be given for the import according to the settings made to date.
Example 1:
Each medium has a language identifier and a resolution name integrated in the file name.
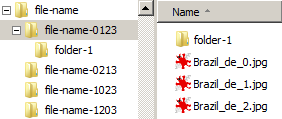
Creating media via file names -- The eighth step is then as follows:
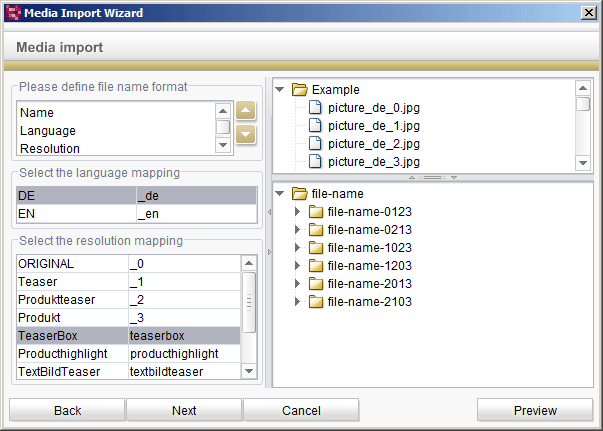
Media Import Wizard – Step 8 (example 1)
File name format: The file names in the folder must be chosen so that they conform to the media import conditions. The order in which the information is integrated in the file name must be given here. The individual elements can be moved one position up or down using the arrow keys on the right.
Language mapping: All the project's languages are given here. It is necessary to enter the abbreviation used to identify each language in the file name. Click the respective language to select the corresponding abbreviation via a combobox or enter it manually.
Resolution mapping: All the project's resolutions are given here. It is necessary to enter the abbreviation used to identify each resolution in the file name. Click the respective resolution to select the corresponding abbreviation via a combobox or enter it manually.
The Preview button activates a window containing an overview of the objects to be imported into the Media Store.
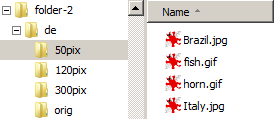
Example 2:
The language identifier and name of the resolution are integrated in the folder structure. If the media to be imported are located in the following folder structure, the Create media according to folder name option must be selected in the seventh step.
Creating media via folder names -- The eighth step is then as follows:
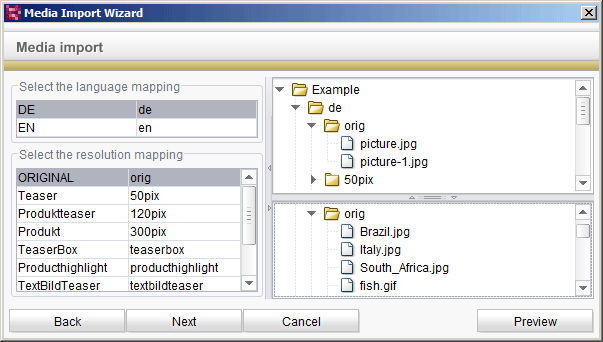
Media Import Wizard – Step 8 (example 2)
Language mapping: All the project's languages are given here. The user must give the name of the folder in which the media for the corresponding language are filed for each language. Click the respective language to select the corresponding abbreviation via a combobox or enter it manually.
Resolution mapping: All the project's resolutions are given here. The user must give the name of the folder in which the media for the corresponding resolution are filed for each resolution. Click the respective resolution to select the corresponding abbreviation via a combobox or enter it manually.
The Preview button activates a window containing an overview of the objects to be imported into the Media Store.
Media Import Wizard – Preview (Objects tab)
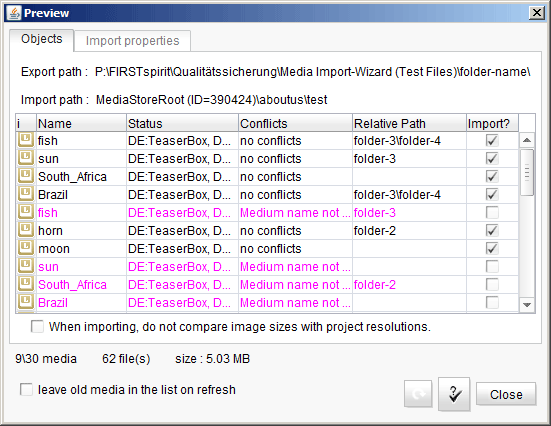
Media Import Wizard – Preview – Objects tab
Click the heading fields to display the media sorted by the values in the corresponding column.
Name: This is the name as it is to be created in the Media Store.
Status: Indicates whether the import can be completely executed or whether further media are required for a resolution or a language.
Conflicts: States why a medium currently cannot be imported into the Media Store.
Relative Path: Specifies the path to the file in the file system relative to the selected export path. If the field is empty, the file is directly in the given folder.
Import: Indicates whether a medium has been selected for import or not. All selected media are labeled with a check mark. Click the box to set or remove a check mark.
If you right-click on a medium, a context menu opens with the following functions:
- Remove from the list: The selected medium is removed from the list.
- Rename: The name of the medium can be changed, for example, to avoid a name being issued twice.
- Make media names unique: If the medium does not have a unique name, this function is used to supplement the name so that it is unique.
- Select all: All the media in the list are highlighted.
- Invert Selection: The selections in the list are reversed. All unselected media are selected and all selected media are unselected.
- Import all objects: All media without conflicts are selected for the media import, i.e., the check marks are set in the last column.
- Import no objects: The import selection is undone for all media, i.e., all check marks are removed from the last column.
- Properties: The Properties window can be used to check which specific file has been selected from the computer's file system for importing for the relevant language or resolution. The settings made can be manually changed if necessary.
Media Import Wizard – Preview (Import properties tab)
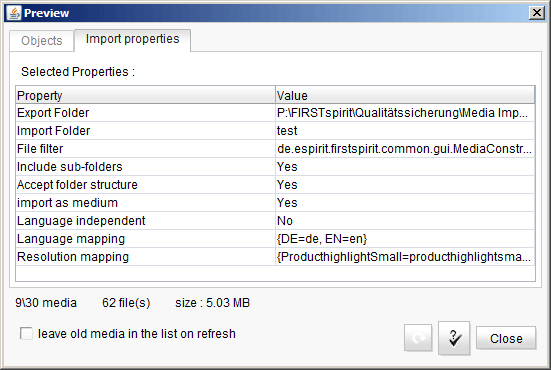
Media Wizard – Preview – Import properties tab
The settings made can be checked again on the Import properties tab.
The Preview window can be closed by clicking the Close button.
Media Import Wizard – Step 9 of 9
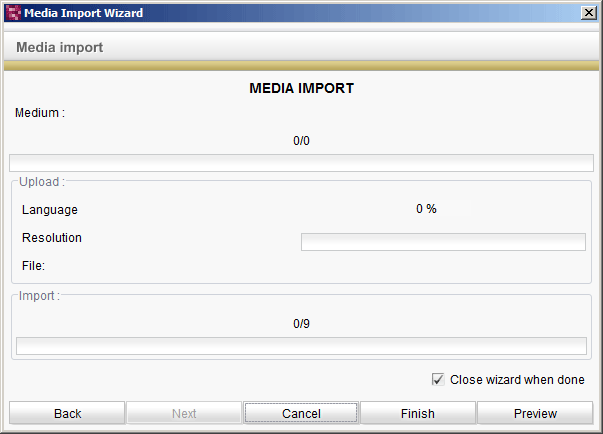
Media Import Wizard - Step 9
If the details in the preview are satisfactory the Finish button must be pressed as a final step to enable the media to be completely imported into the project's Media Store.